I may have written a post about this feature before...but it saved me a bunch of time last night so I figured it would be well worth revisiting here. I'm currently in the process of refinancing my mortgage and received an email from our broker that three of the documents we had recently sent him were left unsigned and undated. The normal (tedious) procedure would be to print out the PDFs, sign and date them, re-scan them, and email them back to our broker. The PDFs were also legal sized (and I did not have any legal paper at home) so I faced the prospect of printing out 6 letter sized sheets to print, sign and re-scan. Arrrrgh.
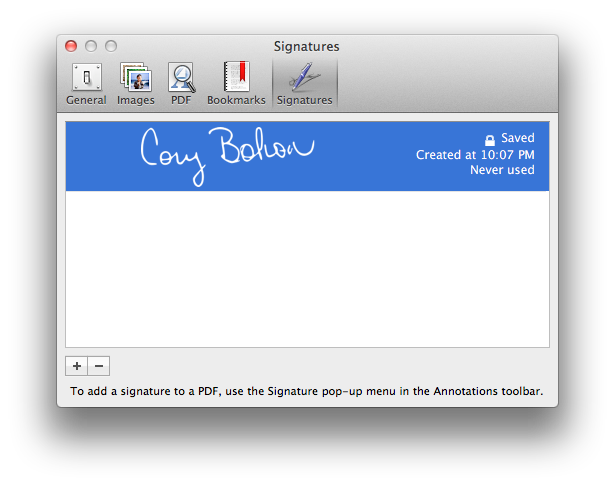
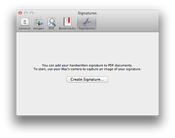
Then I remembered a great feature using the Mac's Preview software where you can create a digital version of your signature by holding a piece of paper (containing a written version of your signature or whatever else) in front of your Mac's web cam. I went ahead and created the necessary digital versions for my wife and myself and also a handwritten scan of the current date. Then I opened each one of the documents and added in all the signatures and dates, carefully resizing them as needed and placing them in the correct spot. After I saved each signed file, I was able to email them directly back to our mortgage broker in about 10 minutes! There was no waiting for my printer to slooooowly scan each page and even better was the fact that I didn't have to burn through a drop of any of my printer's (seriously overpriced) toner cartridges. Amazing.
If you're ever in a similar boat, give the following tutorial a shot. I borrowed (and reprinted) the directions below directly from MacLife's website:
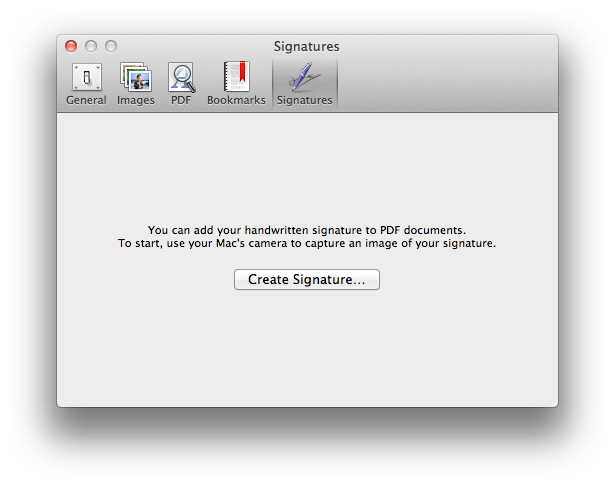
| Mac OS X Lion includes a cool new feature in Preview that gives you the ability to create a digital version of your signature by simply holding a signed piece of paper in front of your Mac’s FaceTime camera. This signature can then be applied to any PDF in Preview, ready for you to email your signed document without messing with any printed copies. To begin, get a blank, white piece of paper and using black ink, create a signature on the paper. |
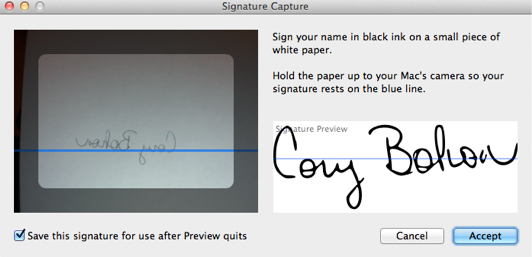
| Preview will activate the FaceTime camera on your Mac and prompt you to hold the piece of paper up to the screen. You’ll want to make your signature line up along the blue line. After a few seconds, a Signature Preview will be available. When you are satisfied with the results, click on the Accept button. |
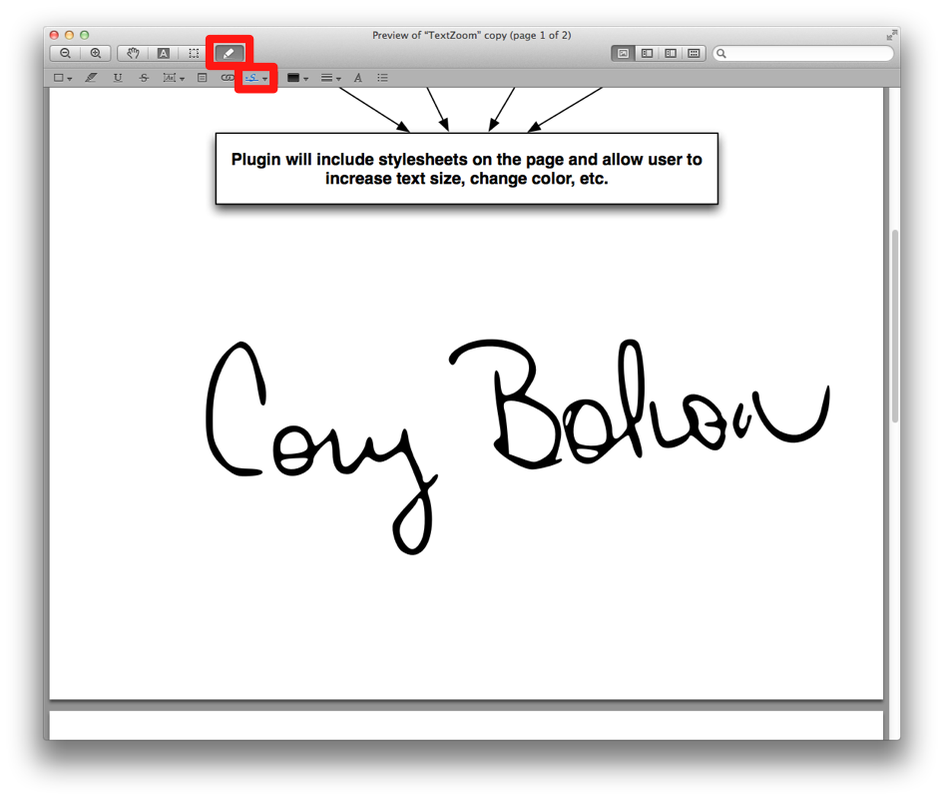
To add your signature to a PDF, click on the Annotate button in the toolbar and select the Signature annotation tool. Then, click and drag, and release anywhere on the PDF to insert your signature. After inserting, you can still enlarge and move around the signature to your liking.
